Visual Studio Tips - Window Management
April 4, 2019 in VSTipsEveryone has their own favorite layout for the various tool windows in Visual Studio. But sometimes you want different Window layouts based on what you’re working on, or whether you have external screens attached to your laptop.
First the basics of tool windows.
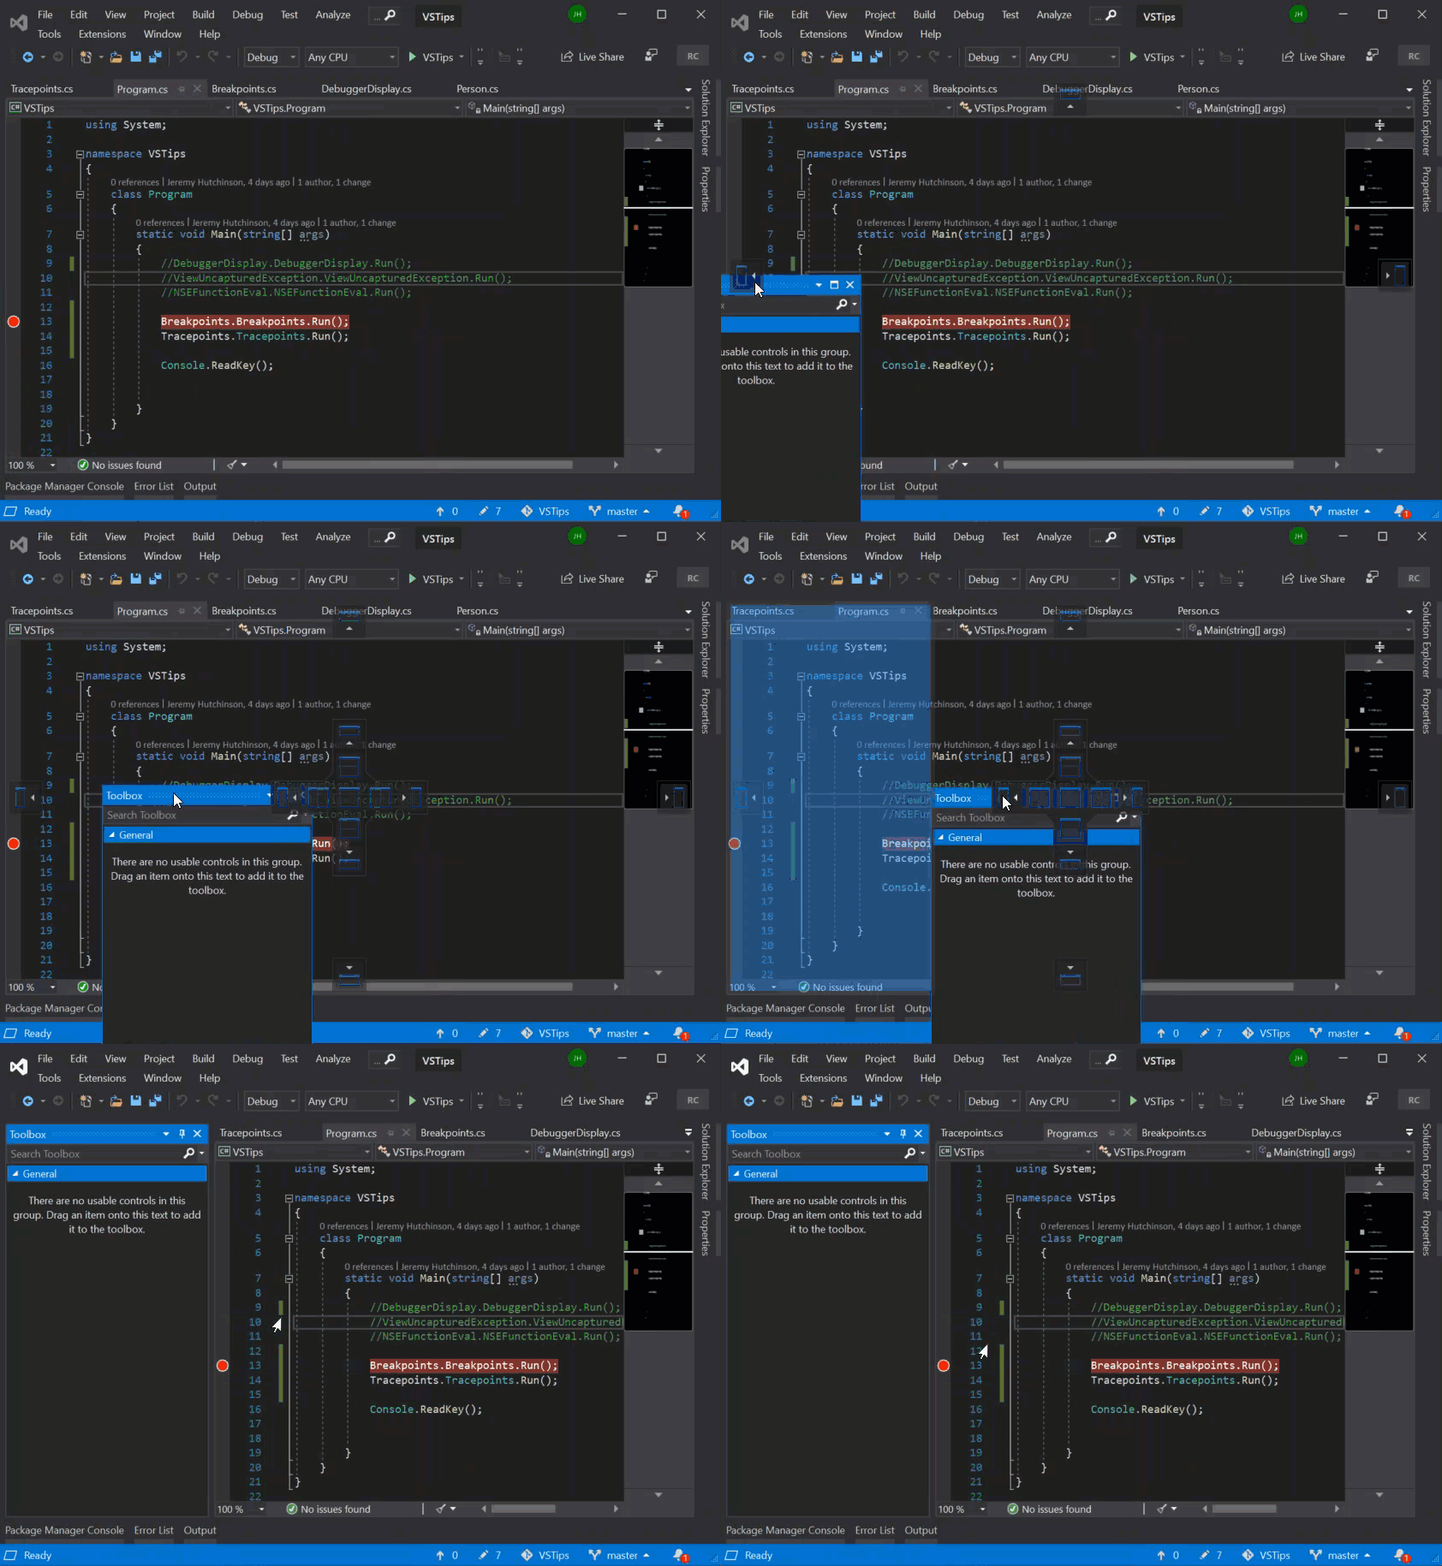
You can click and hold any window by its header (or its tab if it is already docked) and drag it. While drag it you will see a bunch of little blue boxes indicating where it can docked, if you drop it on one of those it will dock, otherwise it will float and can even be moved to a second monitor.

If a window is docked, you can Pin a window with the Thumbtack icon to make it always visible, or if it’s already pinned you can Unpin it to make it Autohide.

Save Your Window Layouts
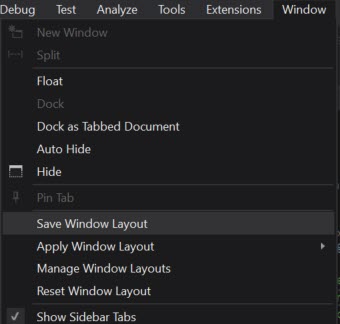
Once you have all your windows where you want them you can Save the layout by going to Window -> Save Window Layout. You’ll be prompted to name your layout. This saves which windows are open, where they are docked, whether they are pinned or autohidden, and their size.

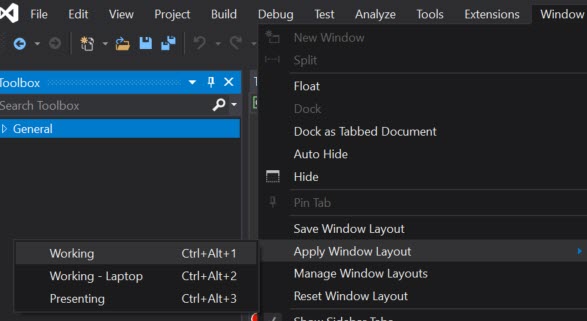
Once you’ve save a layout or two, you can either go back to the Window menu, click Apply Window Layout and select your layout from the list. Or you can use the hot key combination for the layout (ie Ctrl+Shift+1 for layout 1)

The Catch
The one slightly unintuitive part of saving window layouts is that when you save a layout, that is for both the layout for editing and the layout for debugging which are often different. So to set a layout, you need to get all the windows where you want them in edit mode, then start a debug session to get all of those windows where you want them, then save the layout. Otherwise you’ll find yourself needing to switch layouts every time you go from editing to debugging and back.
Have a comment or suggestion? This blog takes pull requests.Or you can just open an issue.